Showing posts with label healthy recipes. Show all posts

Sunday, 22 January 2017

Menu Plan Monday - January 23, 2017

Yummy!!!!
Four weeks!! Can you believe I have managed to plan out four weeks of menus?? Even more impressive? My lovely friend Alana of Alana Joy Photography and I have brought lunch to work for our #teamlunch for three straight weeks! Let's hope we can keep up the same for the next week and weeks to come!

  
This weekend was supposed to be Miss A's weekend away at camp, but she was sick and this mama had to pick her up at 1am on her first night away. She was definitely disappointed, but what she really needed was a weekend at home, with mama taking care of her and lots of sleep. Thankfully she is on the mend and we were able to go out and have a little fun today! A sweet friend of mine opened her own storefront business this weekend. She and her partners have been baking amazing cakes for a few years now, but this weekend Enchanted Cake Studio and Tea Salon opened it's doors and my mom, the girls and I stopped by to check it out! It was amazing! The food was delicious, the tea was delightful, the decor was gorgeous and we had the best time!
Yummy#2!!

Coming up this week we have a few parties, so a few days free of menu planning! For this week's menu, I looked back through my menu plans of years past, here on the blog, and found a few treasures that I hadn't made in a while. Funny enough when I found the recipes on the blog, they were all made two years ago exactly - the last week of Jan! Although there is no guarantee that my kids will eat the planned dinners, I can always throw in some chicken strips to appease the tiny people so the hubs and I can eat the yummy recipes I have planned!
Monday: Turkey Pot Pie
Tuesday: Chicken fajitas and cheese quesadillas
Wednesday: PF Chang's Lettuce Wraps (my fave!!)
Thursday: Dinner out
Friday: Chicken Cordon Bleu Casserole (another one of my faves!!)
Saturday: Dinner out for my bro's birthday!
Sunday: Cajun Shrimp Alfredo (Miss E's Fave!)

I'll be linking up to OrgJunkie's Menu Plan Monday - Swing by and find some great menu ideas for your family!

Sunday, 8 January 2017

Menu Plan Monday - January 9, 2017

Good morning my friends!! I hope you all had a great first week back to work and school! We were back for four days of work, school, dance, brownies, girl guides, catechism and play dates and bottle drives and madness... but thankfully I had my very first menu plan of the year all queued up and ready. Guess what?? We followed along most of the week!

I made these lovelies for dinner last Sunday and kept the rest for lunches this week!
Now that I'm back on the menu planning train, I have to share with you all my latest and greatest find - online grocery shopping!! Our local grocery store, Save On Foods offers two different kinds of service - online shopping where they pick your order and they deliver for a nominal fee (between $5-8) OR (and even more amazing) you can order online, they pick the order for you and you can pick it up in a time slot you pick! I usually plan my orders so they are ready for pickup while my girls are dancing and my hubby picks them up while they are at the studio.

This week, when it came time to use the store's app, I checked in with my menu plan and placed my order for whichever ingredients I knew I would need for the week's recipes. I also love that if we run out of something during the week, I can open the app and add it to my cart right away so I don't forget. Easy peasy, lemon squeezy!

On this week's menu, we are having one pick from each of the kiddos! They love having input into what we are having for dinner, and I love that I'm making something that won't cause an argument at the dinner table. Win/Win!

Monday: Spaghetti and meat sauce
Tuesday: Fish burgers and fries
Wednesday: Tortellini with Prawns
Thursday: Tacos and cheese quesadillas
Friday: Baked ham, mashed potatoes and beans

Saturday: Home made shake and bake chicken, roasted potatoes and salad
Sunday: Beef and broccoli

Thanks so much for stopping by today! I really appreciate it!! Here's hoping this is the first of many posts this year!! I'll be linking up to OrgJunkie's Menu Plan Monday, stop over and check it out!!

Wednesday, 25 November 2015

How to Host a Successful Christmas Cookie Exchange

One of my favorite Christmas traditions is coming up next week! This year will mark the 10th Annual Christmas Cookie Exchange that I will be hosting at my house! It’s a day for us ladies to get together over tea or wine and have appies and catch up, all while trading our new or favorite holiday cookie recipes!!

If you have never been a part of a Christmas Cookie Exchange, let me tell you how it works!! It’s surprisingly easy and a LOT of fun!! Basically, each person who attends the party brings six dozen of their favorite type of cookie, then we make the exchange and everyone brings six dozen different cookies home!!

Ten years ago when I hosted my first cookie exchange, I wasn’t really sure how it worked, so I googled, and found this page . This site gave me a very specific set of rules that, for the first couple of years I was very specific about following… and honestly some of the rules were a little too much for me, so I have relaxed them into the rules below and things have gone much more smoothly ever since!

Recipe for these beauties
Before the rules, a few tips to make your life easier as the hostess of the cookie party!! First of all, give LOTS of notice! I usually send out my invitations (usually as a facebook event) about a month or so before the party. People have very busy social calendars, and if they know about this event well enough ahead, they can also plan to make time for the baking part of the party!! Although some people get stressed about having to bake 6 dozen cookies, remember: that usually just means two batches of a single recipe, since most cookie recipes make 3 dozen cookies!!

Second: Don’t stress!! This is supposed to be a fun event!! I usually have my Christmas tree up mid-November, so my Christmas décor is the only decorating I do for the party, well aside from the beautiful cookies all my friends bring along!! I buy or make a few easy appetizers, open a few bottles of wine and make a pot of tea and we just sit and chat and catch up with each other!

If you have the time, ask your friends to provide you their recipes ahead of time and put together a Cookie Book. It sounds like a lot of work, but it’s super easy and your friends will thank you! When I hosted my first cookie exchange, I asked people to bring copies of their recipes, so if someone LOVED a cookie, they’d be able to bake it! Inevitably, people would forget, so I try to collect everyone’s recipe the week before and print them all off into a little booklet for my guests to bring home! Voila, ten minutes of copying and pasting into a Word document and all of our new favorite recipes in one place to share!!

Finally, I know that people are busy, but busy people still want cookies!! I allow people to bake their cookies and drop them off to me before the party and I will do the exchanging part for them. Last year I had one participant in labour, and another working and one more that had a different party to attend… but they all wanted to bake and exchange cookies, so they brought them over before the party, prepackaged and ready to go and I exchanged their yummies for them! One last thing that may make your life as Cookie Party hostess a little better… and by no means is this necessary, it’s just my OCD coming out to play… if you have an odd number of participants, and you won’t be able to evenly divide cookies (for example 11 people x 6 dozen (72) cookies = 6.54 of each recipe per participant) whip up an extra batch of cookies.

See how amazing having twelve different types of cookies can be????
As the hostess, you are likely already a baker and have a ton of recipes in your arsenal. In addition to making it easier to divide and package cookies (especially when many of the guests pre-package their cookies), if you bring two entries to the party, you LEAVE with double the cookies!!

So, without further ado, and using guidance from Robin’s Rules to Hosting a Cookie Exchange, here are my…


1. All cookies should be homemade, baked and main ingredient must be a type of flour. This means your guests will bring COOKIES. Not Rice Krispie treats, not meringues, COOKIES. After all, this is a Cookie Exchange!!

2. No plain chocolate chip cookies, cookie mixes, no-bakes, meringues or bars. Anyone can open a package and add an egg, this party is for cookies made with love. We allowed bars one year, and they didn’t cut well, they weren’t evenly sized, and they didn’t package and stack like cookies.

3. Please bring 6 dozen total cookies… well maybe a couple extra to share… but really, six dozen cookies. One recipe baked twice, 72 cookies. It makes it easier for sorting and separating when the actual exchange part of the party, and means that no one is shorted cookies because someone only managed to bake 60 cookies.

4. Email a copy of your recipe before the party (or bring recipe to the party). In addition to putting together a Cookie Book like I do, having everyone provide their planned recipes in advance means that you won’t get duplicates. Not that having four kinds of shortbread is the worst problem to have, but variety is the spice of life!!

5. If you don't have time to bake, or have burnt your cookies, but still want to attend, you must go to a real bakery and buy 6 dozen yummy cookies. This one is pretty self-explanatory! In all of my years, it’s only happened on time that someone had to bring bakery cookies!!

I am so so so looking forward to this year’s festivities!! This year’s Cookie Book already has recipes for Oreo Peppermint Crunch Cookies and Salted Caramel Stuffed Snickerdoodles. I. Can’t. Wait!!!!!! Thanks for stopping by today! I really appreciate it!!

Tuesday, 3 February 2015

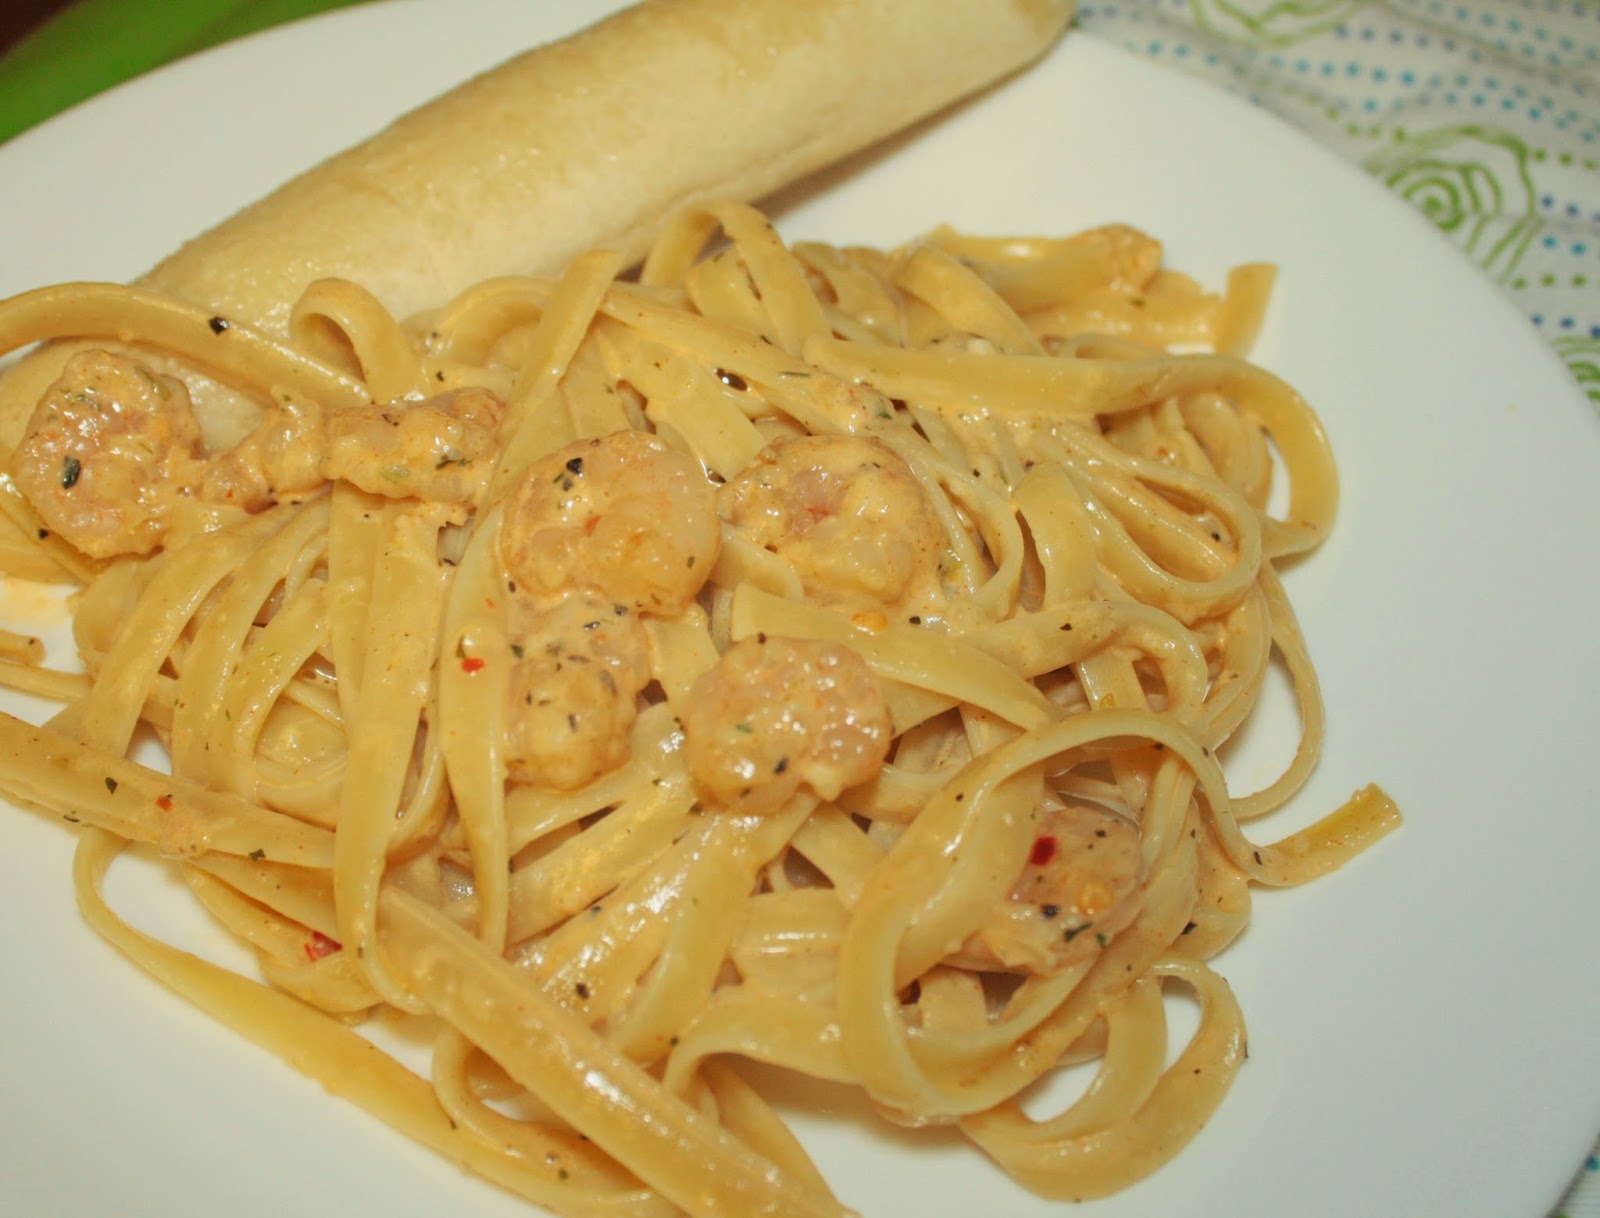
Cajun Shrimp Fettuccine Alfredo

Have you ever seen a recipe on Pinterest and knew, instantly that it would be a hit at your house?? I have! Many times, like last week when I tried out these two recipes - Chicken Cordon Bleu Casserole and Just Like PF Chang's Lettuce Wraps. I pinned this recipe a couple of weeks ago and finally made it last week. It was so good that I made it again tonight!! The girls love loved it and my husband was happy because it makes a big serving of pasta for his dinner.

I found this recipe on ClosetCooking.com and when I ventured over to his site, I found a few other recipes that I can't wait to try out and share with you all. I was worried when I picked a recipe called "Cajun Shrimp" that when the recipe was done it would be too spicy for my girls. No fear, my friends, the Cajun spices brought a smokiness and depth to the flavor of the sauce, it wasn't too spicy at all. I know that you could probably spice up the recipe if you wanted to add more Cajun spice to the sauce.

Cajun Shrimp Fettuccine Alfredo

Recipe adapted from Closet Cooking

Ingredients

8 ounce package of fettuccine noodles
1 tbsp butter
1 lb peeled, deveined shrimp
2 tbsp Cajun seasoning
2 cloves of garlic
1/4 cup chicken broth
1 cup whipping cream
1 cup Parmesan cheese
1 tbsp Cajun seasoning
Additional Parmesan for sprinkling on top

Instructions

Start boiling the water to cook your pasta. In a large sauce pan, melt the butter and cook the shrimp and 2 tbsp of Cajun seasoning for about 5 minutes, until done. I used frozen, already cooked shrimp because that's what I had on hand, so it just needed to be heated through. Remove the cooked shrimp from the pan and save for later.

Using the same pan, add the garlic, chicken broth, whipping cream, Parmesan cheese and Cajun seasoning. Stir gently while cooking until it thickens a bit, approximately 5-7 minutes. Throw the shrimp back into the sauce and stir it all together. Drain the pasta and toss with the sauce and shrimp. Sprinkle the additional Parmesan cheese on top, serve with some garlic breadsticks (and maybe a salad for a bit of healthiness!!) and let your family eat it all up!!

Thanks for stopping by, I hope I've inspired you a little today!!

Thursday, 22 January 2015

Just Like PF Chang's Lettuce Wraps!

Wow! Can you believe it’s already Thursday!?! This week has just flown by!! On this week’s menu plan I decided to try three new recipes. The first one was a resounding success (with the adults in the house, the kids would have nothing to do with it, but they are crazy)!

Even better? The whole meal came together in about 20 minutes!! Yippee!! Anyone with a schedule like ours likes a dish that can be prepped, cooked and eaten in less than half an hour.
I have only been to PF Chang’s twice in my life, since the nearest one is almost 3 hours away. Both times, we ordered these lettuce wraps as an appetizer and they were awesome. So when I saw them on Pinterest, I knew that I’d need to make them to see if they truly were as good as PF Chang’s. And they were!! Thank you so much to Damn Delicious for the amazing recipe!

I had to pick up a few things to pull this dish together that I don’t normally have on hand. Thankfully, I didn’t need to use a lot of these ingredients, so they’ll be here for the next time I make it (and there will definitely be a next time!

Just Like PF Chang’s Lettuce Wraps
Recipe from Damn Delicious

Ingredients
1 tbsp oil
1 pound ground chicken or turkey
2 cloves garlic, minced
1 medium onion, chopped
¼ cup hoisin sauce, and more for garnish at the end
2 tbsp soy sauce
1 tbsp rice wine vinegar
1 tbsp ginger (I used minced ginger, but you could use freshly ground too!)
1 tsp Sriracha (or more, to taste)
1 – 8 ounce can water chestnuts, drained and diced (I only used about ½ a can since I’m not a huge water chestnut fan)
2 green onions, thinly sliced
Salt and pepper, to taste
1 head butter lettuce

Instructions Heat oil in a saucepan over medium/high heat. Add ground chicken or turkey and cook until browned, about 3-5 minutes. Make sure to crumble the chicken/turkey as it cooks; drain excess fat.

Stir in garlic, onion, hoisin sauce, soy sauce, rice wine vinegar, ginger and Sriracha until unions have become translucent, about 1-2 minutes. Stir in water chestnuts and green onions until tender, another 1-2 minutes. Season with salt and pepper to taste.

To serve, scoop several teaspoons of the chicken/turkey mixture into the centre of a lettuce leaf. Drizzle a little extra hoisin sauce on top for a little extra flavour. Wrap your lettuce leaf taco style and enjoy!!

I hope you have enjoyed this recipe!! I know my husband and I definitely did! Maybe next time I’ll be able to convince my kids to eat it (but since it’s wrapped in lettuce, I doubt it!!).

Thanks for stopping by, I hope I have inspired you a little today!

Monday, 5 January 2015

Menu Plan Monday - Jan 5, 2015

We managed to get off to a great start this morning with our family’s “do for yourself” New Year’s resolution! When I got home from the gym at 7:15 am, everyone was dressed and the girls were actually making their lunches!! I made a little sheet and posted it by the wall with the lunchbox requirements and the girls were happily packing their snacks into their bags.

Last night I posted a picture of my “happy place” on Instagram – my happy place being three blank calendars!! I managed to fill in all the kids’ activities in my planner and on the family calendar that we keep on the fridge, but the menu plan calendar didn’t get fully completed. I’m hoping to finish that planning up on my lunch break today.

At least I managed to get the first week all planned out! It’s tough planning sometimes. Mondays we only have 40 minutes in the house to cook and eat dinner between activities and Thursdays the girls eat at my mom’s and I just pick them up and head on to that day’s activity. For me, that means I don’t even get home to cook dinner for the hubs and I until 8pm!

Thanks for stopping by, I hope you all have a fantastic week!

On the menu this week:
Monday: Shell pasta with homemade spaghetti sauce and turkey meatloaf
Tuesday: Perogies and farmer sausage
Wednesday: Fish and Chips
Thursday: Butter chicken lasagne
Friday: Sweet and sour chicken, rice and stir fried veggies
Saturday: Pizza & Salad

Sunday: Pasta with prawns in boursin cream sauce
I’ll be linking my menu plan up to OrgJunkie’s Menu Plan Monday – check it out!!

Friday, 17 January 2014

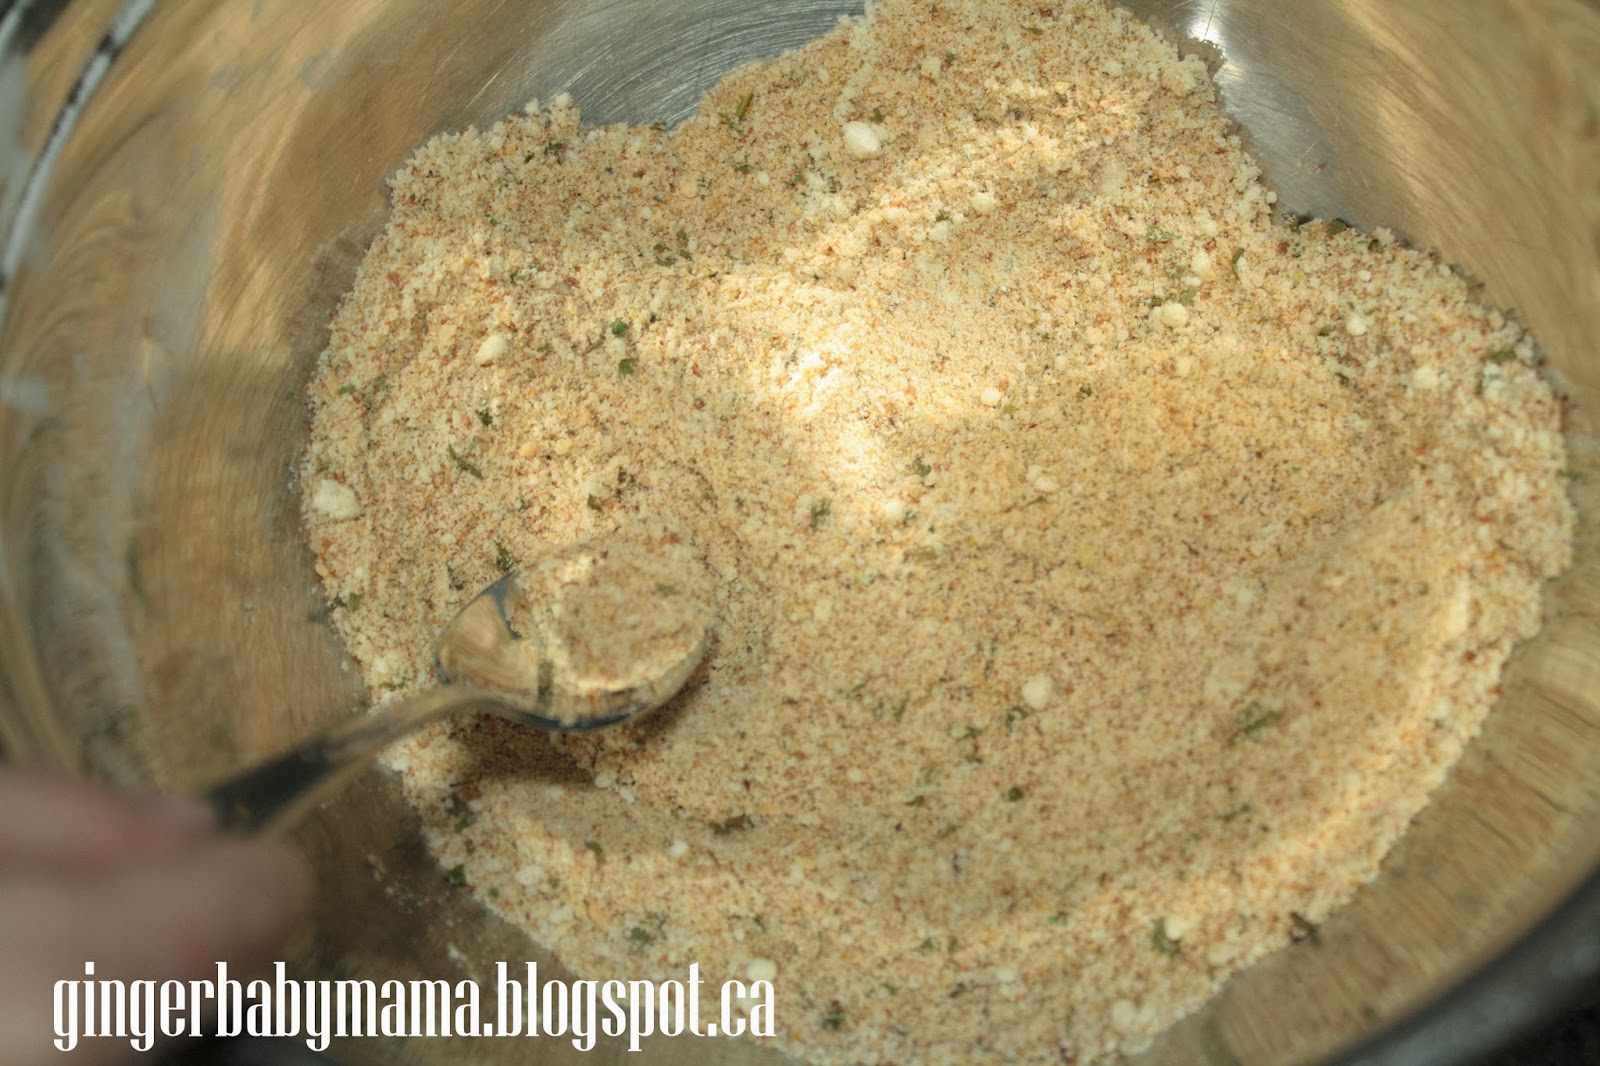
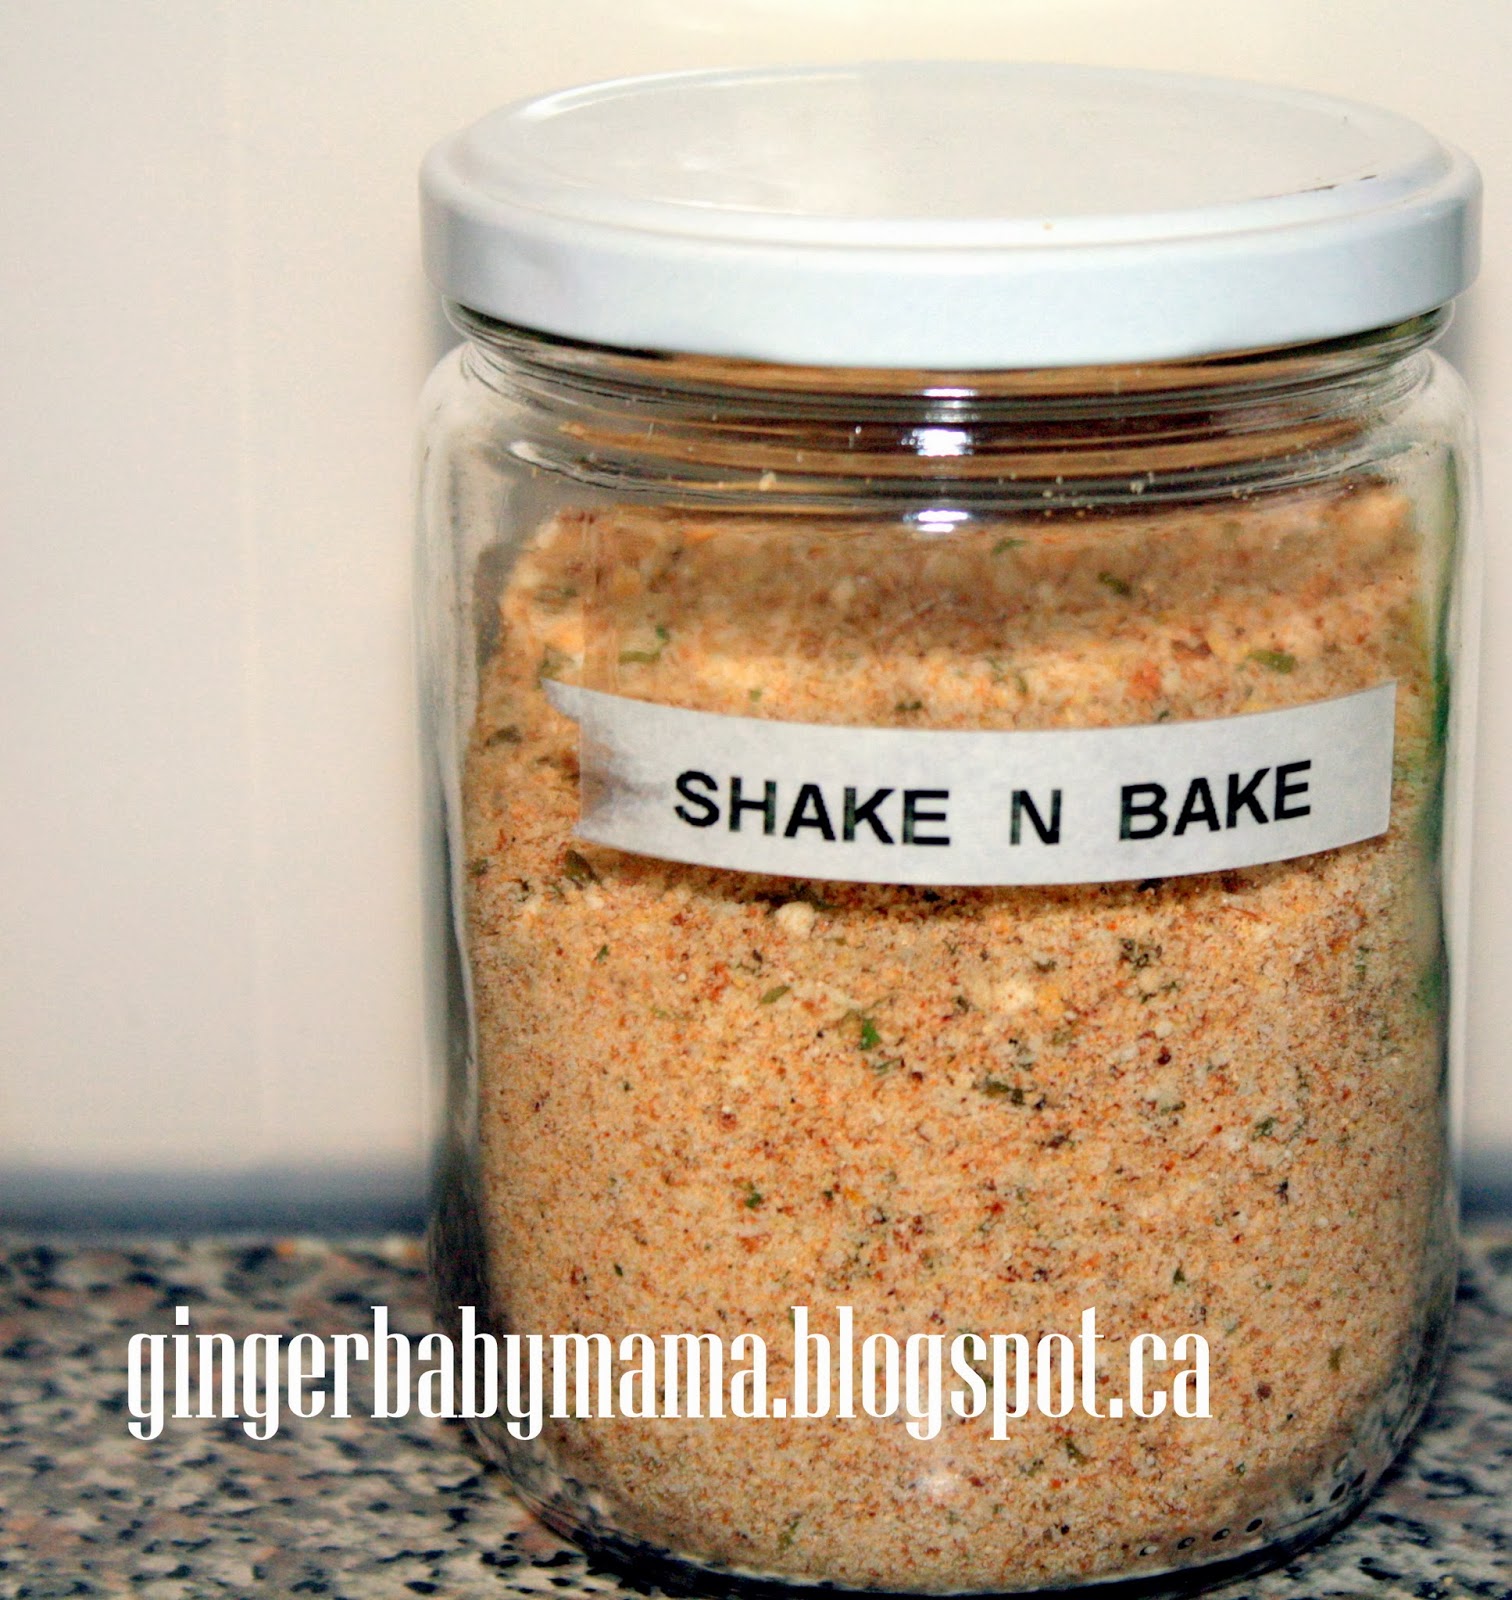
Homemade Shake and Bake Mix

Hello my friends! I’m back with another super easy, healthy recipe to share today. I used to buy store-bought Shake and Bake for breading chicken and fish but one day I looked at the contents on the side of the package. When I found that there were a ton of ingredients that I either couldn't pronounce or couldn't identify, it was time for this mama to find a recipe of my own!

My girls are starting to branch out in the food department (finally!) and since Costco chicken nuggets are a staple in my house, I thought I’d try making my own version of chicken nuggets with chicken breast and a homemade shake and bake mixture. It worked! Both girls gobbled up dinner and I was over the moon!

I always make a big batch of this mix and store it in the fridge so I can whip up dinner quickly without having to measure out the ingredients each time. I served the girls these chicken strips with baked French fries, but I made a beautiful salad with mine. I’ll share that recipe with you next week!

Homemade Shake and Bake

Ingredients

1 ½ cups Italian breadcrumbs
½ cup Parmesan cheese
1 tsp salt
1 tsp ground black pepper
1 tbsp garlic powder (I use this Garlic Aioli dip mix)
1 tsp Italian seasoning (I use this Herb and Garlic mix)

Instructions

Mix all of the ingredients in a bowl until well combined. Transfer to an airtight container (like an old salsa jar) and add a nifty label so you know what is inside.

To make the shake and bake chicken:

Preheat oven to 400F. Put ½ cup creamy salad dressing in a shallow bowl (Caesar, ranch, whatever you like…) and put ½ cup (at a time) of the shake and bake mixture in a separate shallow bowl. Line a baking sheet with parchment paper.

Cut chicken into strips or nugget sized pieces. Dredge the chicken through the salad dressing, tapping any excess off. Then dip the chicken into the breadcrumbs mixture, making sure to coat it on all sides.

Place chicken on parchment lined baking sheet. Bake for 17-20 minutes, turning halfway through.
Honey Mustard Chicken Salad - recipe to come!!

Thanks so much for stopping by today! I hope you enjoyed this recipe.

 
I will hopefully be linking this recipe up to A Bowl Full of Lemonsand Joyful Homemaking.

Sunday, 27 October 2013

Oatmeal Streusel Muffins


Hello my lovelies! After what seems like ages I have finally found time to a) bake, b) photograph said baking and c) conjure up a blog post to share with you all. I've told you before how my older daughter refuses to eat many foods, and making lunches for school is getting increasingly difficult. I know that she like banana bread and muffins, so today I tried a new recipe combining two things I know she'll eat - oatmeal and muffins!

Normally when I bake I add copious amounts of chocolate chips to my recipes for added flavor and love. This time, I left them out to allow the muffins to shine for themselves. I'm not gonna lie, I'll likely add 3/4 cup of semi-sweet chips to the recipe next time, but you could just as easily add blueberries, small chunks of apple or any other fruits.


This recipe took a little longer than I originally anticipated it would. It involved actually cooking the oats on the stovetop for a few minutes and then after they cooked grinding them down to nearly a flour-like consistency. I have to say, I'm so glad I took the time for these steps because I think they made all the difference. These muffins were light and absolutely delicious.

Oatmeal Streusel Muffins
Many thanks to FirstLookThenCook for this recipe, it turned out great!!


Ingredients
Streusel Topping:
1/2 cup old-fashioned rolled oats
1/3 cup all-purpose flour
1/3 cup packed light brown sugar
1 1/4 teaspoons ground cinnamon
1/8 teaspoon salt
4 tablespoons unsalted butter, melted

Muffin Base:
2 tablespoons unsalted butter, plus 6 tablespoons unsalted butter, melted
2 cups old-fashioned rolled oats
1 3/4 cups all-purpose flour
1 1/2 teaspoons salt
3/4 teaspoon baking powder
1/4 teaspoon baking soda
1 1/3 cups packed light brown sugar
1 3/4 cups milk
2 large eggs, beaten

Instructions:

Topping
In a medium bowl, combine oats, flour, sugar, cinnamon, and salt. Drizzle melted butter over mixture and stir to combine; set aside.


Muffins
Preheat oven to 375F. Line two 12-cup muffin tins with cupcake liners. Melt 2 tablespoons butter in a skillet over medium heat. Toss the oats into the melted butter and cook, stirring frequently, until oats turn golden brown and smell of cooking popcorn, 6 to 8 minutes.


At this point I was supposed to pulse the oats in a food processor, but since I don't have one, I just used my regular old blender. It did a great job! Mix the remaining flour, salt, baking powder, and baking soda to oats and pulse until combined.

In the bowl of your standing mixer with the whisk attachment, combine sugar and 6 tbsp. of melted butter until smooth. Add the milk and eggs and whisk until smooth. Fold half of the dry ingredients into the wet ingredients, scrape down the sides of the bowl and mix the other half of the dry ingredients. At this stage, the mixture was still very liquidy.


The instructions said to set the batter aside for 20 minutes to allow the mixture to thicken and I'm so glad I did, because it filled out nicely in that time.


Scoop batter equally among prepared muffin cups, about 3/4 full. Sprinkle the reserved streusel topping over muffins. Bake until toothpick inserted in center comes out clean, 20-23 minutes, rotating muffin tin halfway through baking.


Let muffins cool in muffin tin on wire rack for 10 minutes. Remove muffins from muffin tin and serve or let cool completely before serving.


I was so happy that I found this recipe on Pinterest today! Miss A loved them and she wants them in her lunchbox tomorrow! Win!


Linking to Joyful Homemaking, Not Just a Housewife and A Bowl Full of Lemons.

LinkWithin

Related Posts Plugin for WordPress, Blogger...