Showing posts with label kids. Show all posts

Tuesday, 2 June 2015

End of the Year Teacher Presents - S'mores Gifts!

Hello friends!! I hope you all are having a fantastic day! It’s been a while since I checked in, but as we get closer to the end of the school year, it was time to put together some awesome gifties for some pretty amazing people.

My girls are blessed to have some pretty amazing teachers and leaders. This year the girls came so far in school and in dance and that can be attributed to their awesome teachers. The girls also both started in girl guiding (Miss E in Sparks and Miss A in Brownies) and had an absolute blast. I wanted say thanks to their school and dance teachers and their guiding leaders in a special way.

One of our favorite treats in the summertime are s’mores. We camp a lot, and we often make s’more-gasboards with fun ingredients to up our s’mores game! So we decided to make s’mores gift baskets for our special teachers. I hit up my local dollar store and found small cooler bags to use as my “baskets” and got to work filling them up.

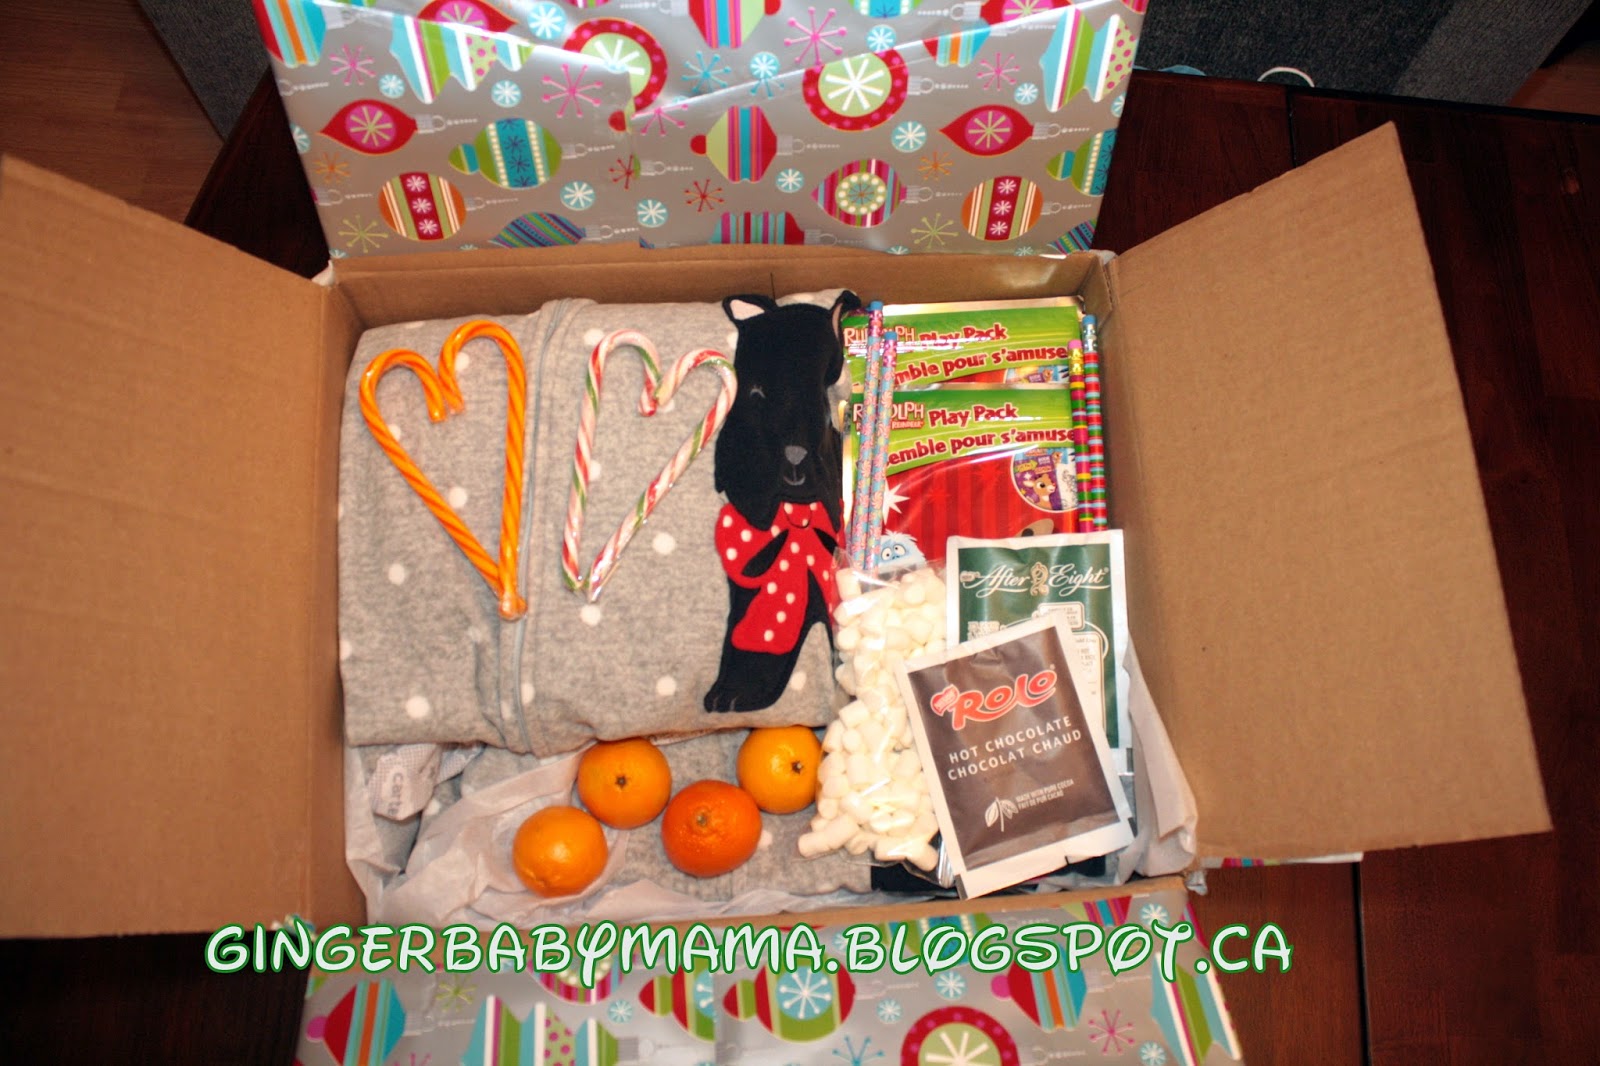
We picked up marshmallow roasting sticks, marshmallows, graham crackers (the necessities), and then got a couple of types of chocolate (one with caramel, of course!!). I just printed a cute little tag for the front of the gift and tied it up with the cooler bag straps! Easy peasy!

For the tags, I made a few different types:
• School was s’more fun because you were my teacher!
• Dance was s’more fun because you were my teacher!
• Brownies was s’more fun because you were my leader!


Even though my sister says all teachers actually want is a gift certificate to Starbucks or some wine, I’d like to think that our teachers will like these gifties!

Thanks so much for stopping by, I hope I’ve inspired you today!!

Sunday, 29 March 2015

Super Amazing Giant Oatmeal Chocolate Chip Cookies

Rainy Sundays in our house mean one thing - time to bake!! After another busy week, and some sleepless nights with a certain 8 year old, it was nice to come home from church today and have absolutely nothing to do. The hubs headed off to work and the girls and I decided to retry a recipe that completely failed a few weeks ago!

My first attempt at these cookies - FAIL!!
I found this recipe in HGTV Magazine and made a few tweaks to accommodate a few ingredients I didn't have on hand. After following the actual baking directions this time, these cookies turned out soft, chewy and gigantic!! The first time I made these cookies, I just used my regular cookie scoop and placed them "normally" on the cookie sheet for baking. Had I read the full baking instructions, I would have noticed that this recipe makes "big, bakery-size, gooey cookies."


Super Amazing Giant Oatmeal Chocolate Chip Cookies
Recipe adapted from HGTV Magazine

Ingredients

1 3/4 cup flour
1 tsp baking soda
1/2 tsp salt
2 sticks butter, softened
1 cup brown sugar
3/4 cup white sugar
2 eggs
2 tsp vanilla extract
1 1/4 cups chocolate chips
1 1/4 cups rolled oats

Instructions

Preheat oven to 375F and line two large baking sheets with parchment paper. Beat the butter and sugar together for two minutes, until light and fluffy. Add the eggs and vanilla and beat until just incorporated. Scrape the edge of the bowl and mix again to make sure it all comes together.
Add the flour, baking soda and salt and mix until combined. Next, stir in the chocolate chips and rolled oats.

Form the dough into balls of about 4 tbsp each (for me, this meant a heaping scoop of my large cookie scoop). Arrange the dough onto the parchment lined baking sheets approximately 2 inches apart. *** This is the most important step!! These cookies spread out a LOT, so make sure to space them well. I used a large cookie sheet and only had 14 cookies on each sheet.

Bake until the cookies are lightly browned on the edges, approximately 15 minutes. Let cool for for two minutes then remove to baking rack to cool completely.

I hope you all love these cookies as much as the girls and I do!! Thanks for stopping by, I hope I have inspired you today!

Friday, 23 January 2015

Our New Year's Resolution - Do For Yourself

Hello my friends! I hope you are all having a fantastic day! In the past few months, since I have gone back to work full time, I have been trying my best to keep our little world running and even though I just keep swimming, I have been feeling like we are just not keeping completely afloat. With the girls in a ton of extra-curricular activities, and grandparents shuttling the littles around to these activities, each week we need to have a whole lot of prep work to survive the chaos.

In order to control the chaos a little bit, our family has made a New Year’s resolution to make my life easier and the teach the girls a little more responsibility. I’ll be the first to admit, I’ve coddled my girls too much. I laid out their clothes the night before school, packed their lunches, prepped and packed their backpacks and dance/brownies/sparks/catechism bags… basically spent a ton of time pre-organizing.

Starting the first week back to school, I made a few little signs to help guide my girls into completing their tasks each morning. I can happily say that for the most part, the girls are being really helpful!! It still takes reminders each day to think about what activities are happening the next day, and what they need to think about packing.


After spending a little time reorganizing my snack and baking cupboard, putting the lunchtime and after school snacks at little people level I hung a “what to pack in your lunch” sign next to the hooks where we keep the lunch bags. This way, while the littles are eating breakfast, they can see their lunch bags, and can think about what they want to pack for their lunches.

I'm happy to say that the girls are doing a great job of packing healthy lunches, filled with food they will actually eat.  

This whole organization plan took me about a half an hour to pull together, but has already saved us a ton of time!

What little organizing techniques do you have to make your lives easier?

Thanks for stopping by, I hope I've inspired you a little today!

Tuesday, 6 January 2015

What the heck is a Sit Upon??

Hello my friends! Hope you are all having a great week! I've got a couple of sick chickens in my house today, so instead of spending the afternoon at the dance studio, we girls were all home together for some chicken soup, couch cuddles and coloring.

This year, Miss A has joined brownies, just like I did when I was a little girl. She is absolutely loving it as much as I did when I was young and has already earned a ton of badges! While the badge-earning makes me a super proud mama, I've been spending a ton of time sewing all those badges onto her sash. You'd think after all these years, the badges would be iron-on to speed things along, but alas, still need to break out the needle and thread when she comes home with newly earned badges of honor.

Along with brownie meetings and badges comes the super fun camping adventures. This weekend, Miss A's troupe is going to a Camp Skills training day. What a great idea!! The girls will learn all about putting up tents, camp cooking and outdoor safety. They are going to have so much fun. When reading the list of things the girls need to pack along to their training day, one of the items on the list was a "sit-upon." Now, what, pray-tell is a "sit-upon"? It's like a seat that the girls can tote along and bring the camp fire to sit-upon so they don't get wet or dirty.

Our leaders suggested that a sit-upon could be made by folding newspaper into a ziplock bag, I knew that we'd have to find a way to make it cuter and more comfy for my little diva. I needed it to be fun, functional and not so heavy that Miss A wouldn't be able to easily carry it along with the rest of her camp gear.

After browsing Pinterest for some ideas, the girls and I gathered the following supplies:
* one vinyl shopping bag (for its waterproof-ness)
* old newspapers & magazines
* a small pillow
* duct tape

After duct taping together the sides of the vinyl shopping bag so it wouldn't be too wide, Miss A got to work stuffing the bag. She put the newspapers on one side and the pillow on the other, making sure to pull the pillow edges right down to the bottom of the bag.

Once it was all filled up, we used more duct tape on the top and bottom to make the bag into a pillow-like shape.

We made sure to leave the straps of the shopping bag on the outside of the package to make it easy to tote around the camp site. Here's a picture of Miss A with her newly assembled sit-upon - she can't wait to sit upon it this weekend!!

Thanks so much for stopping by, I hope I've inspired you a little today!

Thursday, 1 January 2015

Dollar Store Art Hack

Hello my friends and Happy New Year!! Hope you all had a safe and fun evening last night. My evening consisted of a Homeland binge watching session and some sparkling wine with the hubs at midnight. A perfect evening as far as I am concerned!

Today I'm sharing with you a dollar store hack that I used to make Christmas presents for my littles. Miss A has been asking to update her bedroom for a few months now. Originally she asked to paint the lower portion of her room green like grass in a field, and the top part of the room blue like the sky, paint a fence and put pictures of horses all over the walls.


That tall order was not going to happen (not right now anyway) but I wanted to bring some horse themed artwork into her room. Rather than shell out big bucks for artwork at Home Sense or Target, I thought I could find a way to do it for cheap. So, off to my favorite store these days - Dollarama!! I picked up a horse calendar and some photo frames and got to work!All in I spent $13 to make four art pieces for my littles; 4 frames at $3 each and a buckeroo for the calendar.


Once I took the stock photo out of the frames, and the matting out, I was able to "frame" out which calendar pages would work out best for my project. I lucked out and found that more than half of the calendar pages would have worked! I picked out the ones I thought the girls would like best (especially since Miss A asked for a real horse that's brown with white spots for Christmas!) and using scotch tape affixed the calendar pages to the matting.

I also put together one other art piece for Miss A that wasn't horse related. Since she isn't exactly a morning person (like at all) I wanted to find a fun quote about being happy. I scoured Pinterest and found this quote that reads "Today is the perfect day to be happy" - it was an ad for a Color Run, and I just cropped the runners out of the bottom of the picture, resized it to fit on an 8 1/2 x 11 page and printed it on cardstock.

Here are some photos of how the prints look in the girls rooms. Pardon the horrendous lighting, I took the pics at night and the chandeliers in the girls room aren't exactly the best sources of light for photos!

Notice anything in this one? My assistant Miss E snuggled herself into the bed disguised as a stuffy. And yes, she actually sleeps with all of those "babies" on her bed each night!

I decided to put the Happy quote on Miss A's wall right at the end of her bed so that when she wakes up for her compulsory 12 minutes of stretching each morning, it'll be the first thing she sees! Here's hoping it works!!

Thanks so much for stopping by to check out my dollar store artwork - maybe it'll inspire you to put some fun pictures up in your house!


Monday, 22 December 2014

Christmas Eve Gift Box


I know we’re cutting it close to Christmas, only a few days left, but I’m back with a quick post with one of our Christmas traditions.

Ever since I was little, Christmas Eve always meant new pajamas for my sister, brother and I. When my girls came along, I always made sure that we had new jammies all wrapped up and ready to go for Christmas Eve.

This year, I decided to go one better and put together a Christmas Eve box filled with fun things for my girls and their little cousins to do after Christmas Eve mass. 

I found a box in the house and wrapped it in Christmas wrapping paper and then got to work filling it up! 

I hit up my new favorite place – the Dollar Spot at Target!! There, I found some adorable little craft fun packs and some new pencils for the girls.

Also into the box went some packets of hot chocolate and a bag of marshmallows (we use marshmallows as a hot chocolate topper and as a bribery tool for good behavior!!),

and a few Christmas mandarin oranges. I'm sure the girls are going to love having an extra present to unwrap at Baba's this Christmas Eve!!

Thanks for stopping by my little corner of the internet today!! Merry Christmas!!

Thursday, 14 March 2013

Wee Pots of Gold!


Good afternoon everyone! Hope you are having a super fantastic day! I had so much fun last night crafting up a storm, and today I’m going to share some of the fun with you!

March is a fun month for us! We have a two-week spring break from school, made even longer by Easter long weekend at the end of the month. We also have the most fun holiday of the year – St Patrick’s Day!! Miss A is an Irish dancer, and although she’s not quite at that stage yet, the day will come when she’ll spend the entire week leading up to St Patrick’s Day dancing at local pubs and community events. It’s how I spent my Paddy’s days when I was a younger, and I know she’ll love it!

Miss A came home from school yesterday saying she had to be careful not to get caught in a leprechaun trap! I thought it would be fun to make some little treats for my little leprechauns to open on Sunday morning. Nothing fancy or expensive, just something fun! All in, I put together 8 wee pots of gold for a total cost of sixteen bucks!

8 Mini terra cotta pots 2/$1 = $4

1 each of gold paint and gold glitter paint $2

1 package of Easter basket filling $1

6 packages of gold coins = $6

2 packages chocolate candies $2

Shamrock stickers $1

Total = $16!! Or only $2 per pot of gold!!
I started out painting the outside of the terra cotta pots with the gold paint. I put on two coats (it dried super quick!!) and then applied a layer of the glitter paint. I really could have skipped this step, as I didn’t notice enough of a glitteriness (I know it’s not a word… but it’s what I was going for…) to make a difference. I added stickers to a couple of the pots and left the rest plain gold. The stickers didn’t stick perfectly but they did like cute!

The next step was to fill the pots with gold! I put a piece of paper towel in the bottom, but I guess I could have just used more of the basket filler stuff. I was worried about the gold coins falling to the bottom of the pot and not being seen at the top. I filled the pots with chocolate gold coins and gold foil-wrapped candies.

I’m sure the girls will love their little leprechaun treats! I hope you like them too!

Thanks for stopping by my little corner of the internet today! I really appreciate it! I’ll be linking my project up to Joyful Homemaking, and A Bowl Full of Lemons.

LinkWithin

Related Posts Plugin for WordPress, Blogger...